Well, I found just the opposite to be true, The software is either very bad, or very expensive, I downloaded trial version of many different programs. I tried Gimp, I tried many online websites, nothing I tried was automatic, Maybe I was asking too much, maybe I thought it should be easier to do, I don't know. The only program that I found that made it easy to do, (And easy is the key!) You still had to tell it what to do, but once you told it....it did it.
Was a program called recolored, it let you try before you buy, 21 days, not bad unless you have a lot of pictures, but it is also affordable. At the time of this writing I believe it is $30 bucks.
It does take some reading to start using it, you can't just use it out of the box, there is no "Wizard", but it is easy to use, it give general pallets of colors for skin, sky, stone, metals, cloths, ect...you also have full access to the full pallet if you just can't find the color you need or want.
Get the color, and outline the area you want that color to fill in. after you get all your areas done, hit the colorize button, and watch it work.
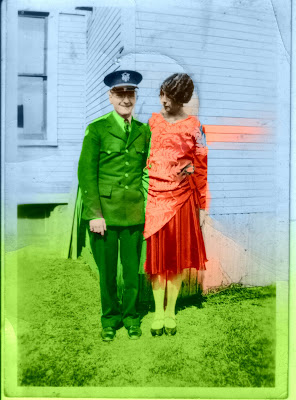
I did four pictures in about 20 mins I guess. The first one, Was me just playing and testing, I want to go back and make it better now that I know a little more about what I am doing.
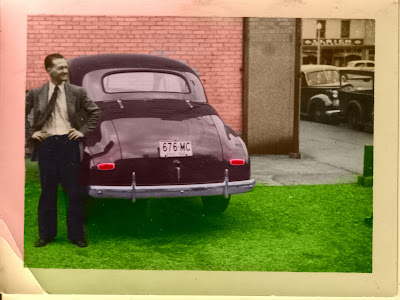
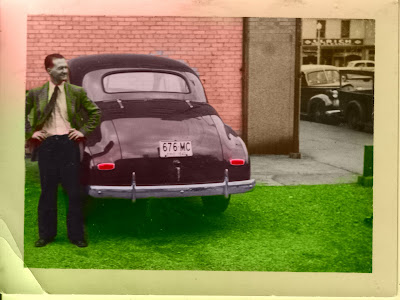
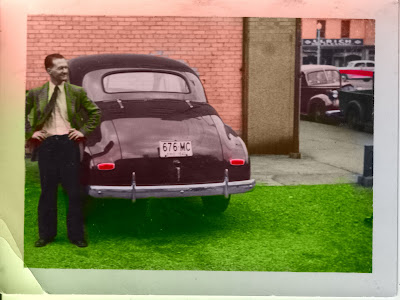
The 2nd, I keep tweaking it till I was happy, Which didn't take long, I was pretty happy with the 3rd picture.
The 3rd picture, I just did one time, simple picture, was very happy with the results 1st time around, took about 5 mins to do.
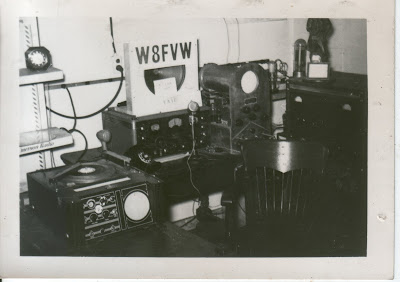
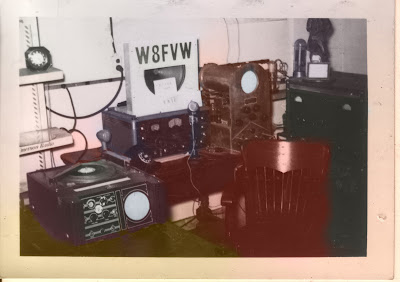
The 4th, Was not of a person or car, but of vintage ham radio gear. IT was a bit of a challenge because the room was all white, the radios mostly dark color, and sitting right on top of each other.
But it didn't take long, and I was pretty happy with the end results, it probably could use some tweaking, but for what it is...
So here are the before and afters:
Picture number 1:

Picture number 2 (and the 3 after photos):

Picture Number 3:
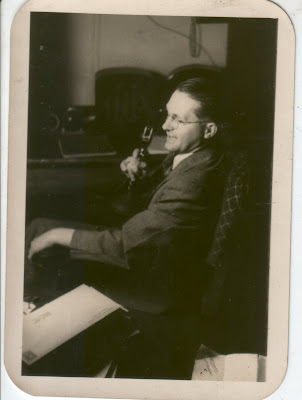
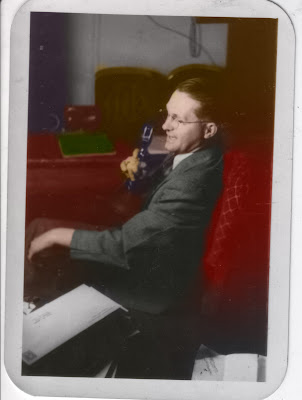
Picture number 4: (Some of his radios):
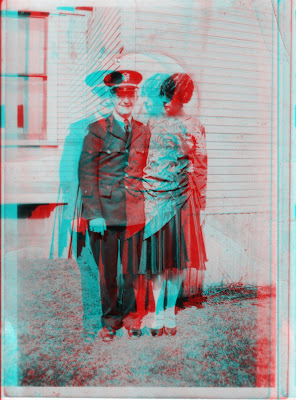
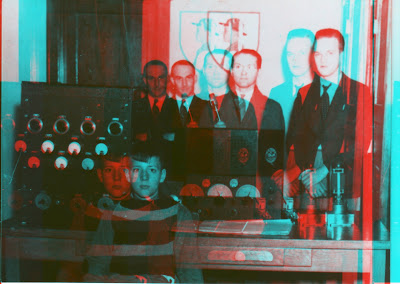
Also, while I was messing around with the Black and White Photos, I thought it might be interesting to try and convert the 2D images to 3D -> These pictures were not taken in 3D, but learning a few things about how the anaglyph (red/cyan) work, I thought, again, we have computers now, it shouldn't be that hard to do.
And it wasn't. Using GIMP, I make a layer from the image that is visible - now there are two images showing in the layer menu. make the top layer visible, move the offset (I used a negative offset, and I had to set it pretty far, at least -150 to -285), then using the plug-in I blogged about early this month, I turned it into a 3D anaglyph. and for the most part, it did work.
I think because the offset is so far off on them pictures, I started to see a "Ghost" if I was far away from the monitor, up close it did seem to be good.
So the 1st picture, is my Grand Father, and Grand Mother, the original is already posted above.
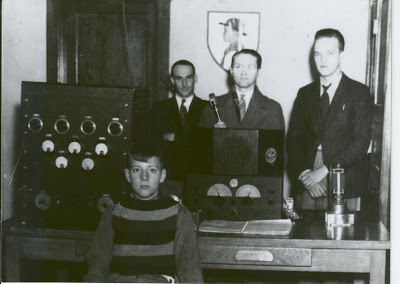
The 2nd is I think my Grand Father (Man in the back Center), at a boy scout Ham radio station
Conclusion - While 3D anaglyph have gotten very easy to do, a truely "Easy" way to convert a black and white photo to color is probably still a dream away, but it is getting easier to do!
Thanks for reading my posts,
LeRoy, KD8BXP
No comments:
Post a Comment